This content originally appeared on DEV Community and was authored by Arbythecoder
Introduction
Recently, a friend of mine shared her experience of getting stuck in a difficult loop while trying to set up a CI/CD pipeline for her Node.js application. This sparked the idea for this guide. In this article, we’ll create a professional yet beginner-friendly CI/CD pipeline using GitLab to automate testing and deployment for a simple Node.js application. By the end, you’ll have a robust DevOps workflow to ship code faster and safer.
 Folder Structure
node-ci-cd-app/
├── .gitlab-ci.yml          # GitLab pipeline config
├── package.json
├── .gitignore
├── app.js                  # Main server file
├── routes/
│   └── ping.js             # Example route
├── tests/
│   └── ping.test.js        # Test for the ping route
└── README.md
 Step 1: Create a Simple Node.js App
1. Initialize Project
Start by setting up your project:
mkdir node-ci-cd-app && cd node-ci-cd-app
npm init -y
2. Install Dependencies
Install the necessary packages:
npm install express
npm install --save-dev jest supertest
3. Create Files
app.js
Create the main server file:
const express = require('express');
const pingRoute = require('./routes/ping');

const app = express();

app.use('/ping', pingRoute);

const PORT = process.env.PORT || 3000;
if (require.main === module) {
  app.listen(PORT, () => console.log(`Server running on port ${PORT}`));
}

module.exports = app;
routes/ping.js
Set up an example route:
const express = require('express');
const router = express.Router();
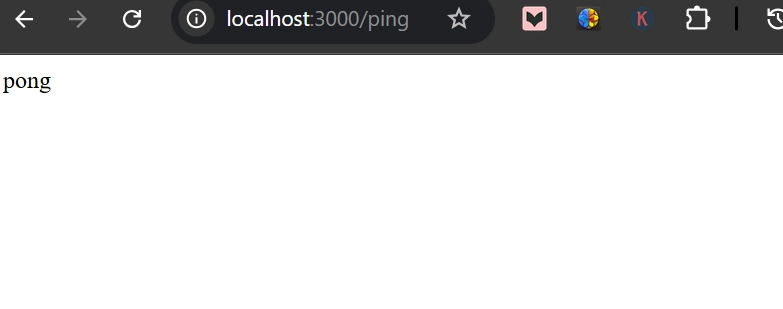
router.get('/', (req, res) => {
res.send('pong');
});
module.exports = router;
tests/ping.test.js
Write a test for the ping route:
const request = require('supertest');
const app = require('../app');

describe('GET /ping', () => {
  it('should return pong', async () => {
    const res = await request(app).get('/ping');
    expect(res.statusCode).toBe(200);
    expect(res.text).toBe('pong');
  });
});
.gitignore
Create a .gitignore file to exclude unnecessary files:
node_modules
.env
package.json (scripts section)
Update the scripts section in your package.json:
"scripts": {
  "start": "node app.js",
  "test": "jest"
}
You can now run:
node app.js         # Start server
npm test            # Run tests
 Step 2: Push to GitLab & Add CI/CD Pipeline
1. Create a New GitLab Repo
- Go to GitLab
- Click “New Project” > “Create blank project”
- Name it
node-ci-cd-app - Click “Create Project”
2. Connect Local Repo
Run these commands in your terminal:
git init
git remote add origin https://gitlab.com/your-username/node-ci-cd-app.git
git config --global user.name "Your Name"
git config --global user.email "you@example.com"
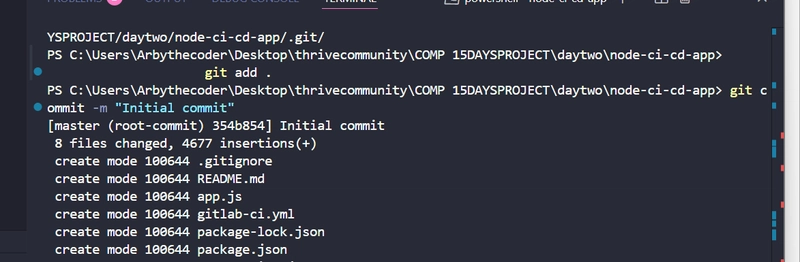
git add .
git commit -m "Initial commit"
git branch -M main
git push -u origin main
If you encounter the error:
error: src refspec main does not match any, it means themainbranch does not exist yet. Simply run:
git branch -M main
Then try pushing again:
git push -u origin main
3. Add .gitlab-ci.yml
Create a .gitlab-ci.yml file in your root directory with the following content:
stages:
  - test

run_tests:
  stage: test
  image: node:18
  script:
    - npm install
    - npm test
4. Push to Trigger Pipeline
Add the CI/CD configuration file to your repository:
git add .gitlab-ci.yml
git commit -m "Add CI pipeline for testing"
git push
5. Monitor on GitLab
- Go to CI/CD > Pipelines in your GitLab project.
- Check the pipeline status and job logs to ensure everything is running smoothly.
 Step 3: Deploy to Render (Coming Up)
In the next section, we will:
- Deploy the Node.js app to Render using Deploy Hooks.
- Secure secrets with GitLab CI/CD Variables.
- Add a
deploystage to our pipeline.
Stay tuned for the next part!
This content originally appeared on DEV Community and was authored by Arbythecoder