This content originally appeared on DEV Community and was authored by Mukul Rana
You wanna use e-commerce features in your application and don’t wanna write the backend logic from scratch? Shopify’s got your back.
With Shopify, you can integrate full-fledged e-commerce functionality into your React or Next.js app without reinventing the wheel.
It simplifies the way you manage products, carts, checkouts, and orders — just like the big players: Amazon, Flipkart, and more. Shopify gives you control over both the frontend and backend (via APIs), so you can build a customized shopping experience the way you want.
 Why Use Shopify in Your Web App?
- No need to build your own e-commerce backend from scratch
- Secure & scalable infrastructure
- Fast to set up and test (even with a development store)
- Custom UI possible with React/Next.js
- Smooth checkout with Shopify-hosted payment gateway
 Different Use Cases for Using Shopify
1. Storefront API
Use this when you’re building a custom frontend (React/Next.js) and want full control over what the users see and interact with.
With Storefront API, you can:
- Fetch products and collections
- Create carts and manage checkout
- Handle customer authentication and order history (with some setup)
2. Admin API
This is for backend admin-level access like:
- Managing products, inventory, or orders
- Creating discount codes or webhooks
- Performing store-level operations
 How to Start — Step-by-Step
1. Create a Shopify Development Store
- Go to Shopify Admin Dashboard and create the account.
- Create a dev store (no billing)
- This store will be your testing ground
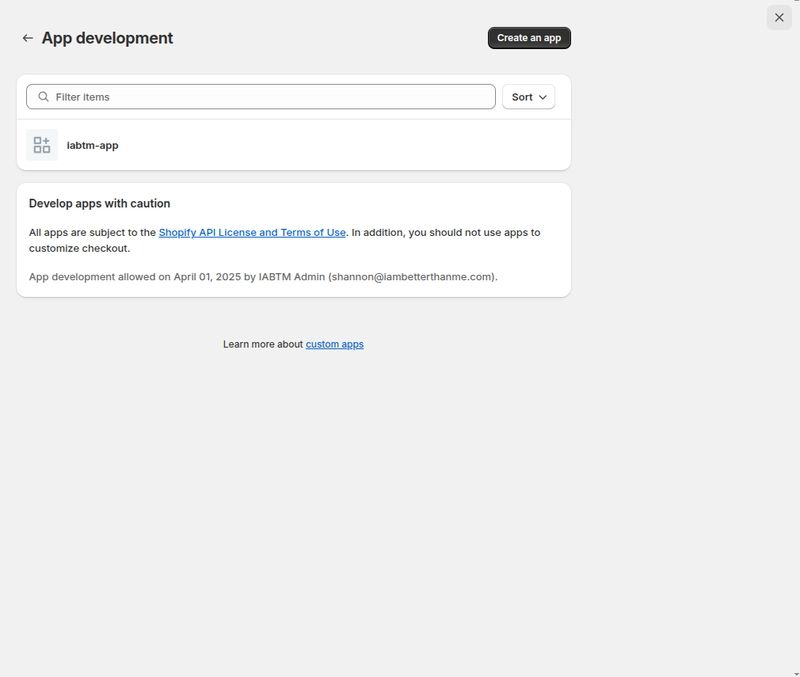
2. Create a Custom App in Shopify Admin
- Inside your store, go to Apps and Sales Channel → Develop App → Create App
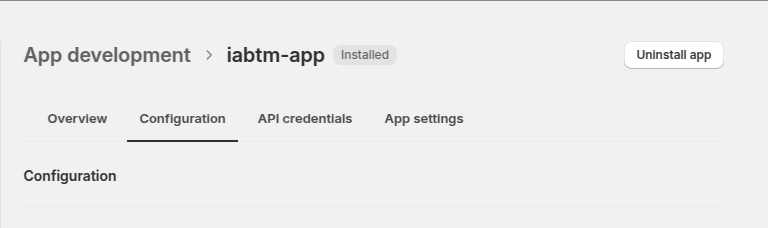
- Fill the basic fields (name, email), then go to the Configuration tab
- Enable Storefront API access
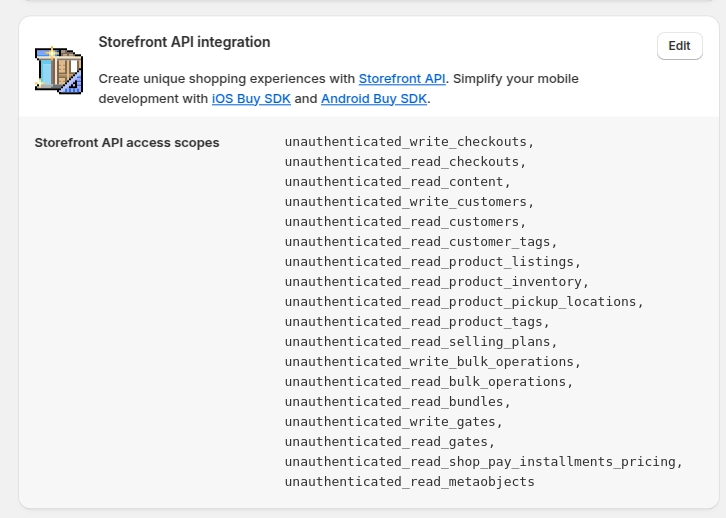
-
Add necessary scopes like:
unauthenticated_read_product_listingsunauthenticated_write_checkouts-
unauthenticated_read_customers, etc.
Go to the API credentials tab → copy tokens and save them to your
.envfileInstall the app to the store (don’t skip this!)
 What About Cart, Checkout & Payment?
Here’s the flow:
- User clicks Buy Now
- You create a checkout via API
- Add selected product(s) to the checkout
- Redirect the user to
checkout.webUrl(Shopify-hosted payment page)
Super smooth!
 Helpful Links
 Shopify Storefront API Docs
 Shopify Admin API Docs
 Shopify GraphQL Explorer
 Conclusion
If you’re building an e-commerce web app and don’t wanna spend time on backend logic or payment systems — Shopify Storefront API is  .
.
It gives you flexibility, security, and scalability without sacrificing customization.
You get the best of both worlds: custom frontend + ready-made e-commerce backend.
Happy Coding! Feel free to connect or drop questions in the comments.
This content originally appeared on DEV Community and was authored by Mukul Rana