This content originally appeared on DEV Community and was authored by Reshma Shaik
Hii Guys!
Let’s build the additional features that completes the setup as per our task requirements in continution to  Backend Setup
Step by step implementation of additional steps.
1. CSV Import/Export for Stock Details
- Allowing admin to upload CSV File to add/update the products.
- Providing an endpoint to download the current stock data as csv
inorder to perform these steps, create a model and perform actions according to the get and post routes for csv file to store data into the database rather than storageMemory.
-
CSVFile.js
const mongoose = require("mongoose");

const csvFileSchema = new mongoose.Schema({
    filename: String,
    mimetype: String,
    data: Buffer, // Store the CSV file as binary
    uploadedAt: { type: Date, default: Date.now }
});

module.exports = mongoose.model("CSVFile", csvFileSchema);
- create a middleware for csv file in
authMiddleware.js
const multer = require("multer");

const storage = multer.memoryStorage(); // Store file in memory as Buffer
const upload = multer({ storage });

module.exports = {upload};
-
Define route in the
server.jsinorder to perform the creation of routes and controller actions.-
csvRoutes.js
-
const express = require("express");
const { importCSV, exportCSV } = require("../controllers/csvController");
const {upload} = require("../middleware/authMiddleware");

const router = express.Router();

router.post("/import-csv", upload.single("file"), importCSV);
router.get("/export-csv", exportCSV);

module.exports = router;
csvController.js
- Logic for importing the csv file and storing results in Products file.
const importCSV = async (req, res) => {
    try {
        if (!req.file) {
            return res.status(400).json({ error: "No file uploaded!" });
        }

        // Convert buffer data to stream
        const csvStream = Readable.from(req.file.buffer.toString());

        let products = [];
        csvStream
            .pipe(csv.parse({ headers: true }))
            .on("data", (row) => {
                products.push({
                    name: row["Product Name"], // Mapping CSV column to schema field
                    category: row["Category"],
                    price: parseFloat(row["Price"]), // Ensure numeric value
                    stockQuantity: parseInt(row["Stock Quantity"]), // Ensure integer
                    itemsSold: parseInt(row["Items Sold"]) // Ensure integer
                });
            })
            .on("end", async () => {
                try {
                    await Product.insertMany(products);
                    res.status(200).json({ message: "CSV imported successfully and stored in DB!" });
                } catch (err) {
                    console.error("Error inserting data:", err);
                    res.status(500).json({ error: "Error inserting data" });
                }
            });

    } catch (error) {
        console.error("CSV Import Error:", error);
        res.status(500).json({ error: "Error importing CSV" });
    }
};
- Logic for the exporting the products data in the form of csv file.
const exportCSV = async (req, res) => {
    try {
        // Find the most recent CSV file from the database
        const latestFile = await CSVFile.findOne().sort({ uploadedAt: -1 });

        if (!latestFile) {
            return res.status(404).json({ error: "No CSV file found" });
        }

        res.setHeader("Content-Type", latestFile.mimetype);
        res.setHeader("Content-Disposition", `attachment; filename=${latestFile.filename}`);
        res.send(latestFile.data);
    } catch (error) {
        res.status(500).json({ error: "Error exporting CSV" });
    }
};
and export the functions inorder to get referenced to the routes, to perform action with respect to the route.
2. Filters and Sorting on Stock Overview
- Implementing query parameters for filtering and sorting stock data.
- Define the routes for the analytics in
server.js
app.use("/api/analytics", analyticsRoutes);
-
analyticsRoutes.js
const express = require('express');
const { getStockData, getChartData } = require('../controllers/analyticsController');

const router = express.Router();
router.get('/stock', getStockData); //Fetching stock with filters.

router.get('/chart-data', getChartData);//fetching the data for presenting in chart.


module.exports = router;
- Then complete the controller functions to complete the actions to their respective routes.
by requiring the Products model, to the analyticsController.js
- functions,
1.Filters Products by Category
If a category query parameter is provided (e.g.,
/stock?category=Fruits), it filters products based on that category.
2.Sorts Products Based on Query Parameters
If sortBy is provided (e.g., /stock?sortBy=price), it sorts the results:
Ascending (asc or default) → order=1
Descending (desc) → order=-1
Example:
/stock?sortBy=price&order=desc → Sorts by price in descending order
3.Finds and Returns Sorted & Filtered Data
Applies filtering (filter) if category is provided.
Applies sorting (sortOptions) if sortBy and order are given.
const getStockData = async (req, res) => {
    try {
        let { category, sortBy, order } = req.query;
        let filter = {};
        let sortOptions = {};

        if (category) filter.category = category;
        if (sortBy) sortOptions[sortBy] = order === "desc" ? -1 : 1;

        const products = await Product.find(filter).sort(sortOptions);
        res.status(200).json(products);
    } catch (error) {
        res.status(500).json({ message: "Error fetching stock data", error });
    }
};
3. Display Charts for Stock Trends and Revenue
analyticsController.js
const getChartData = async (req, res) => {
    try {
        const products = await Product.find();

        const categories = {};
        products.forEach(product => {
            if (!categories[product.category]) {
                categories[product.category] = { totalRevenue: 0, totalSold: 0 };
            }
            categories[product.category].totalRevenue += product.totalRevenue;
            categories[product.category].totalSold += product.itemsSold;
        });

        const chartData = Object.keys(categories).map(category => ({
            category,
            totalRevenue: categories[category].totalRevenue,
            totalSold: categories[category].totalSold
        }));

        res.status(200).json(chartData);
    } catch (error) {
        res.status(500).json({ message: "Error fetching chart data", error });
    }
};
4. Test your backend api
I have tested everyting in here just visit the link for testing the api.
5. Deployment Of Backend API
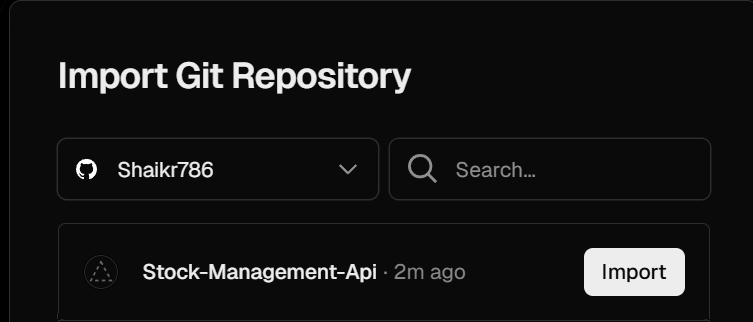
Create a repository Stock-Management-Api.
Push the code to this repo.
verify my repo to get the code.GithubLink
create vercel.json file in root directory inorder to handle the deployment in vercel.
{
    "version": 2,
    "builds": [
      {
        "src": "server.js",
        "use": "@vercel/node"
      }
    ],
    "routes": [
      {
        "src": "/(.*)",
        "dest": "server.js"
      }
    ]
  }
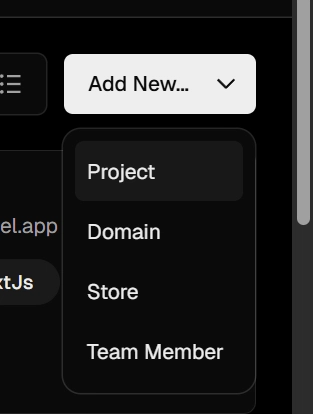
- go to vercel.com create an account and add a new project for deployment.
- Select your repo and import it.
- Provide the environment variables and path to root directory.
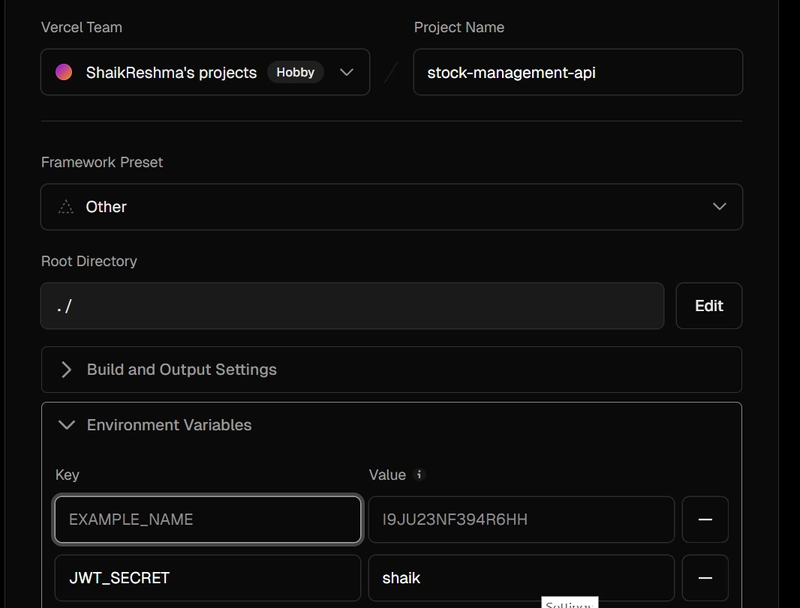
- Then click on deploy.
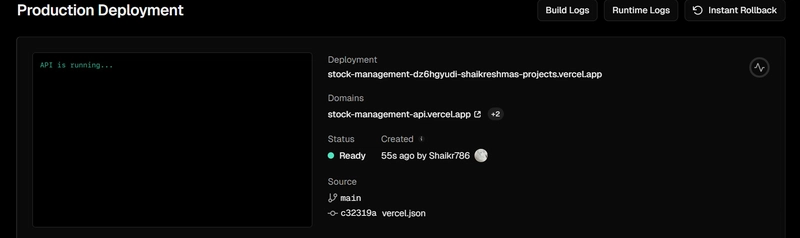
Congratulations! U just deployed your backend API.
Happy Developing.
Let’s continue frontend part in upcoming blogs.For any queries reach out in comment section.
Thank You!
Let's grow together!

This content originally appeared on DEV Community and was authored by Reshma Shaik