This content originally appeared on DEV Community and was authored by kimi ene
This post shares my personal experience on how to deploy a LLM locally and make it accessible from the public internet.
Requirements
- A personal computer
- A server with a public IP address
The process is divided into three steps:
- Use Ollama to deploy the
Deepseek-R1model locally. - Deploy Open-WebUI.
- Use Neutrino-Proxy to enable NAT traversal.
Deploying a LLM Locally with Ollama
First, let me explain why I chose to deploy the model on my personal computer instead of the server. Simply put, I can’t afford a high-performance server. My server only has 2 CPU cores and 2GB of RAM, which is far from sufficient for deploying LLMs.
1. Download Ollama
Go to the Ollama website, download the installer, and install it on your computer.
2. Running Ollama
The Ollama directory looks like this:
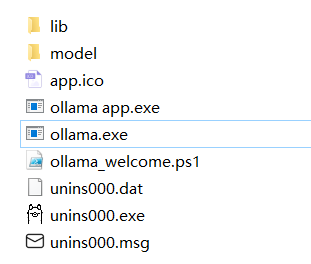
We won’t use ollama app.exe. Instead, we’ll use ollama.exe.
Open Git Bash or CMD, and running any Ollama command will start the service:
| Command | Description |
|---|---|
serve |
Start ollama |
create |
Create a model from a Modelfile |
show |
Show information for a model |
run |
Run a model |
stop |
Stop a running model |
pull |
Pull a model from a registry |
push |
Push a model to a registry |
list |
List models |
ps |
List running models |
cp |
Copy a model |
rm |
Remove a model |
help |
Help about any command |
3. Running deepseek-r1:8b
Run the following command:
ollama run deepseek-r1:8b
Yes, you can skip the second step because running ollama run deepseek-r1:8b will automatically start Ollama.
Alternatively, you can pull the model first and then run it.
After running the command, you’ll see a command-line interface where you can interact with the model. For example, you can say hello:

At this point, the model is successfully deployed.
4. Accessing the API
In practice, no one interacts with a LLM via the command line. Instead, you can use the API provided by Ollama. Check out the API documentation here: ollama/docs/api.md at main · ollama/ollama (github.com).
There are two main APIs for interacting with the model:
POST /api/generate
curl http://localhost:11434/api/generate -d '{
  "model": "deepseek-r1:8b",
  "prompt": "What color is the sky at different times of the day? Respond using JSON",
  "format": "json",
  "stream": false
}'
POST /api/chat
curl http://localhost:11434/api/chat -d '{
  "model": "deepseek-r1:8b",
  "messages": [
    {
      "role": "user",
      "content": "why is the sky blue?"
    }
  ]
}'
The difference, as I understand it, is that /generate allows you to send a simple prompt, while /chat requires constructing a messages array, enabling the model to “keep a chat memory.” /chat is more comprehensive, so I generally use it (though I could be wrong, but it works for me).
Most parameters in the API have default values, so you can use them as needed. Refer to the documentation for details: ollama/docs/modelfile.md at main · ollama/ollama (github.com).
If you exit Ollama, you can restart it later using:
ollama serve
You don’t need to specify which model to run, as the API will automatically start the specified model when called.
Deploying Open-WebUI
Visit the Open-WebUI documentation here:  Home | Open WebUI.
There are multiple ways to deploy Open-WebUI:
- Using Docker
- Manual installation: Home | Open WebUI
I chose to use Docker on a Linux server because I don’t have Docker installed on my Windows machine, and I didn’t want to use its UV installer.
Run the following command:
docker run -d  \
--name open-webui \
-p 3101:8080 \
--add-host=host.docker.internal:host-gateway \
-e OLLAMA_BASE_URL=http://host:port \
-e ENABLE_OPENAI_API=false \
-v /root/open-webui:/app/backend/data \
ghcr.io/open-webui/open-webui:main
Explanation of the Command
-
OLLAMA_BASE_URL: This is the address of the Ollama service we started earlier. Since my Ollama is running on my Windows machine and Open-WebUI is deployed on the server, I need to use NAT traversal (explained later). -
ENABLE_OPENAI_API: I set this tofalsebecause I don’t want Open-WebUI to fetch OpenAI models. I only want to use the models I deployed with Ollama. You can enable or disable this based on your needs.
I used only a few environment variables here, but there are many more available in the documentation. You can configure them as needed:  Environment Variable Configuration | Open WebUI.
Using Open-WebUI
After running the Docker container, open your browser and go to http://ip:3101. You’ll see the login page:
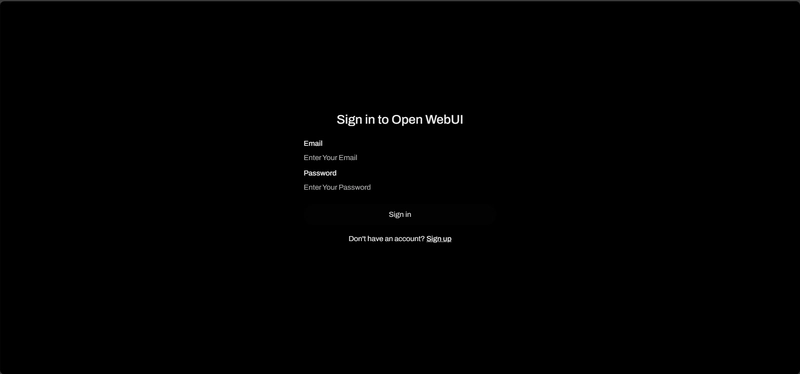
The first user to register and log in will become the administrator of this Open-WebUI instance. The account and password will be stored in its local database, so you don’t need to configure an external database.
After logging in, you’ll see the homepage:
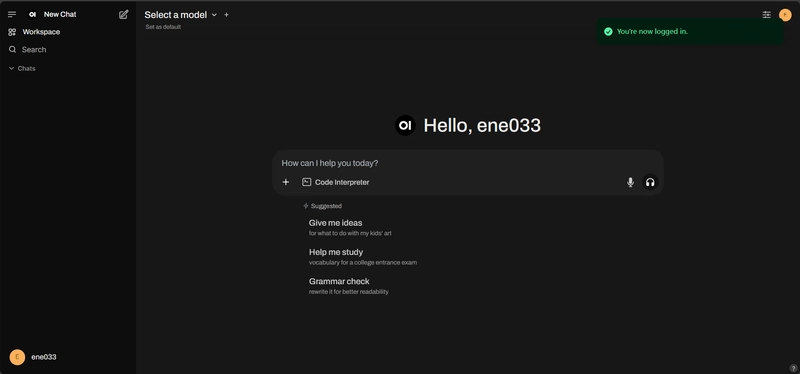
At this point, if Open-WebUI and Ollama are on the same local network and configured correctly, you should see the Select a model dropdown with the deepseek-8b model we just ran.
However, since my setup is different, I need to use NAT traversal.
NAT Traversal
If both Open-WebUI and Ollama are deployed on the same local network, you only need to expose Open-WebUI to the public internet. However, if they are on separate networks (as in my case), you’ll need to expose Ollama as well.
I used Neutrino-Proxy for this purpose. You can find the documentation here: neutrino-proxy. (dromara.org).
Other NAT traversal tools can also work, but NAT traversal is not the focus of this post, so I won’t go into detail.
Important Notes
By default, Ollama binds to 127.0.0.1 instead of 0.0.0.0. If you want to expose Ollama to the public internet, you can use Nginx as a reverse proxy or change the binding IP to 0.0.0.0. Refer to the documentation here: ollama/docs/faq.md at main · ollama/ollama (github.com). Otherwise, Ollama will throw a 403 error.
Exposing Ollama to the public internet carries some risks. Unless it’s for learning purposes or personal use, it’s generally not recommended.
Once NAT traversal is configured, set the public address of Ollama in OLLAMA_BASE_URL, and everything should work.
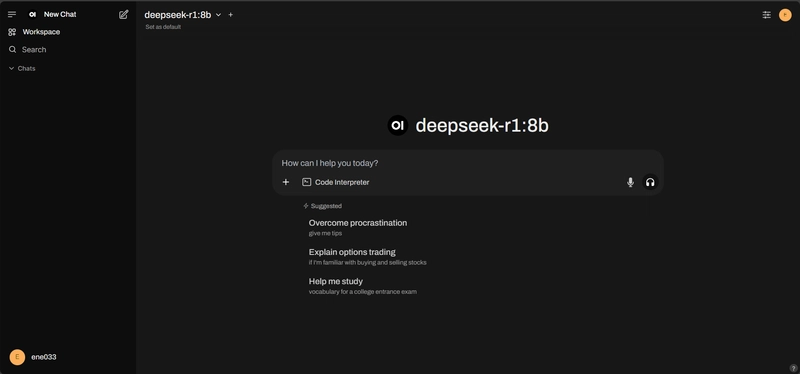
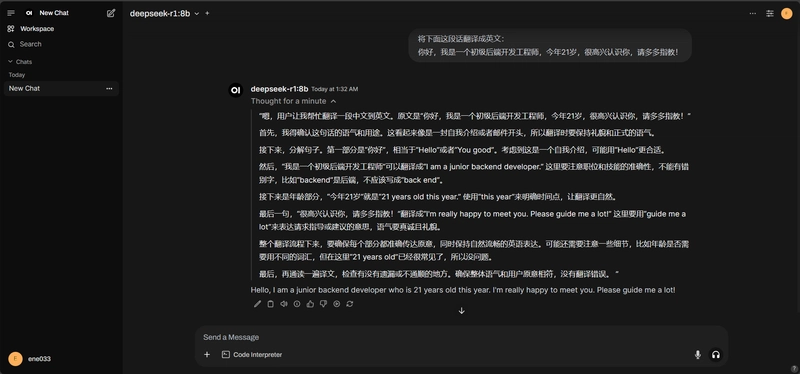
Now you can start chatting:
Summary
This is my personal method for deploying a LLM locally. It’s not a tutorial or the most optimal solution—just a personal sharing. Feel free to adapt it to your own preferences!
This content originally appeared on DEV Community and was authored by kimi ene